DIY Aero Testing
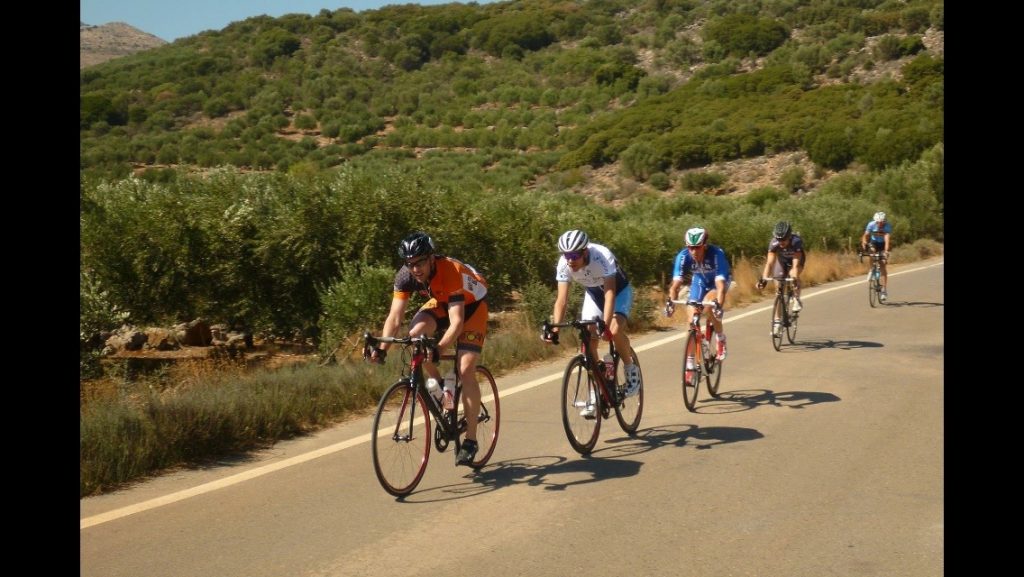
On a bike, aerodynamics counts for a lot, in time trialling it counts for just about everything. The awareness of its importance has increased massively over the last few years. In the past being told something is more aero or copying the position or equipment of the fastest riders was about as technical as it got…plus plenty of trial and error!!
Now we have a better understanding of aerodynamics we don’t have to trust the equipment companies marketing, or which helmet is fast on another rider…we can do our own aero testing.
I’ve been aero-testing on myself since about 2016/17. Inspired by some podcast guests of ‘the cycling time trial podcast’ I started reading up on what to do and ventured off to Maindy Velodrome for a trial run. The most important thing is to get your process in place so you can get accurate enough. I read an article by Rob Barrett of Float aero that got me started.
Before you start
Before you start, make sure you have everything you want to test or ideas on what position changes you want to try. Gather together everything you need and double-check it…nothing more annoying than dedicating the time to test and then not getting data on all the things you want.
The most important thing to organise. before you start, is where you are going test. You need traffic-free, stop free cycling. If you touch the brakes, you can’t use that data! So cycle circuits and outdoor velodromes are the best. I’ve heard of some people using industrial estates late at night, but wherever you choose, make sure it’s safe.
I budget about 90 minutes for a test and probably get 6-7 runs in that time. You’ll get more in if you are testing equipment, as it doesn’t take long to change between helmets, whereas, when you are changing the front end set up, you could be setting up the bike for 5-10 minutes between runs.
What equipment do I need?
- Bike and Equipment you want to test
- Speed Sensor
- Tools to alter your bike/position
- Notebook and Pencil
- Phone/Camera
- Golden Cheetah Software (Post Test Analysis)
- (http://www.goldencheetah.org)
Where do I aero testing?
I’m lucky to live near Maindy Velodrome (well, I used to!). This is ideal as it is consistent and there is no traffic or junctions to worry about. There are two massive advantages to using an outdoor velodrome or cycle circuit:
- There is less chance of a test being interrupted (ruined!) by traffic or stops.
- If you are alone on a circuit with no traffic/road dangers you can really focus on staying in position and feeling how that position feels. Even on short runs, you get a really good sense of whether it is sustainable. Then the added benefit of testing different equipment/positions back to back to back you get a really good comparison…you’ll learn far more than just the CdA.
Aero Testing Checklist:
“Position, helmet, skinsuit, tyres. The difference between top frames and wheels is not as big as you think.” Dan Bingham
The Process – In Brief
- Equipment ready and organised
- Take a screengrab of local weather conditions, you’ll need this later when you do your analysis.
- Warm-up for about 10 minutes, so both you and your bike are ready.
- Do a baseline test run. Make sure you know your exact equipment used and position set up, as you have to repeat this baseline at the end.
- Make a position or equipment change.
- Test Run 1
- Make a change
- Test Run 2
- continue until you have done all the tests you want to do.
- Return to your exact starting equipment and position of your baseline and complete Baseline 2.
- Screengrab of weather…home for analysis
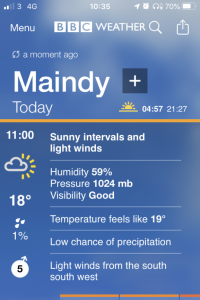
Take a screengrab of the local weather at the start and finish.
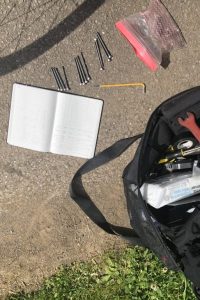
Have your tools, test equipment and notepad ready.

I’m lucky to have lived near an outdoor Velodrome in Cardiff, ideal for for testing and where quite a few noteable cyclists started their careers…Including Geraint Thomas.
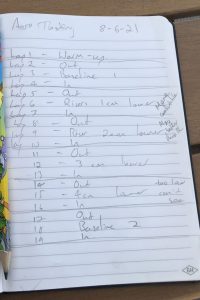
my Testing: 8-6-21
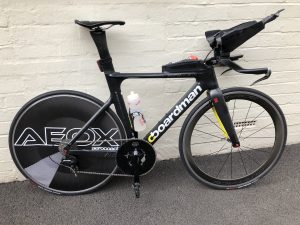
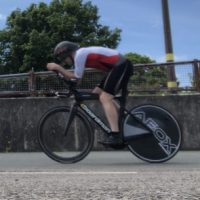
I’ve been playing around with the front end of my bike trying to get a better overall position, with my head low, but still able to see!!
I’ve been playing with the angle of the pads and extensions on the turbo at home and feel I’ve reached a comfortable position that also allows. me to see.
So during this test, I wanted to systematically alter the stack height of the pads leaving. everything else is the same.
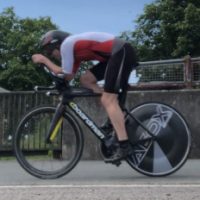
It’s great if you do it in pairs as one can take photo’s and videos and do the changes on their bike during the test run of the other. I had to make do with propping my phone up on the floor and leaving it recording and taking screengrabs, which is why they look a little strange!

Aero Testing Notes
It’s really important to make a few notes on each position. How did it feel for comfort, power, can you see ahead, etc.
- Baseline – Very comfortable
- Test 1 – No change in comfort, easier to keep head in position to see ahead.
- Test 2 – Felt slightly harder to hold head position, visor too close to hands.
- Test 3 – Felt powerful, but can’t see ahead properly
- Test 4 – Could actually see ok, but no way I could hold that position for a long time.
- Baseline – Probably the most comfortable position, be good for 50/100 mile TT’s
Y
The Results
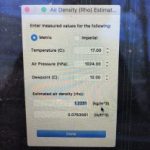
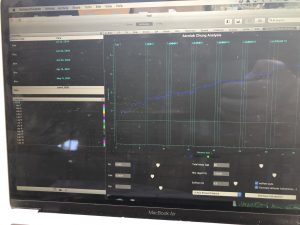
There’s a bit of learning to do to get the results. I use Aerolab in Golden Cheetah. It’s free to download and has plenty of help online on how to use it. Once you’ve imported your ride, you need to work out the air density at the time of your testing, that’s where your screengrabs of the weather come in (Below, Left). Put the data into the Air density tool (Rho) and then transfer the result into the AeroLab page (Below, Right)
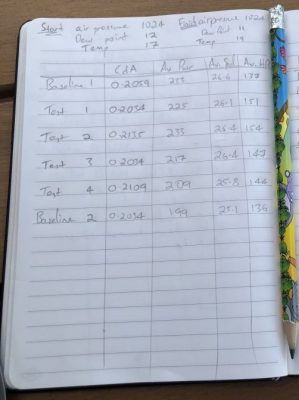
I’ll do a separate post on exactly how to do the calculations at a later date. I set out a table (Left). Put in the raw data from speed, power, HR for each test. That helps filter out any major issues, if in doubt I ignore the results.
Use AeroLab to determine the CdA for the baselines and each test. The baselines should match, but they didn’t today but were very close. You can see on the left the different CdA values for each run. Some nice gains and combined with the subjective notes it’s clear that test 1 is my position for the next racing block.
Final Thoughts
With CdA, lower is better…but don’t forget the notes you make. You have to be comfortable, powerful and be able to see.
Aero Testing sounds like a lot to do, but it’s easy if you are systematic and take the time to learn the processes.
Working on the front end seems to get the best gains. Lower isn’t always better…you have to test!!
Just keep practising and trying different things. Sometimes you. get gains from things you don’t expect.
Hit a Plateau?
We can look into your training history, identify the reasons for your plateau and build a plan to get to the next level.
Money-Back Guarantee
We only work on the understanding that you can have your money back if you are not satisfied.