Aero Testing – Introducing the New AeroSensor
What is the New AeroSensor
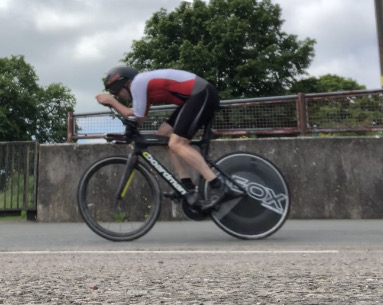
I’ve been aero testing for years. I used to be able to go to an outdoor velodrome and use the Chung Method to test…really great fun. And it must have worked because I’m not that powerful but managed some respectable times in local time trials.
However, the attraction of a device that measures CdA has always been attractive. I did have an AeroPod, but the calibration and general randomness of results made it very frustrating to work with…and it wasn’t long before I gave up and continued with my Chung method approach.
When I saw the new AeroSensor advertised, I had a look into it and was definitely interested; my instincts told me this one was different. I bought it during the development phase of the product on Indigogo…I think about 18 months, as it was a long way from production when I bought it. They are now on general sale, I believe.
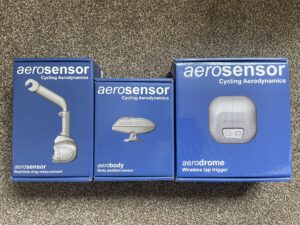
There are 3 products available: the AeroSensor itself, the AeroBody and the AeroDrome. The aerosensor is the one that measures the CdA, the AeroBody assesses body position, and the aerodrome makes lap timing in a velodrome extremely accurate.
First Trial Run
As I picked it up in the UK, I didn’t have my own bike, so I was on my brothers’ bike, but couldn’t resist giving it a go. So, I set it up and did some simple tests.
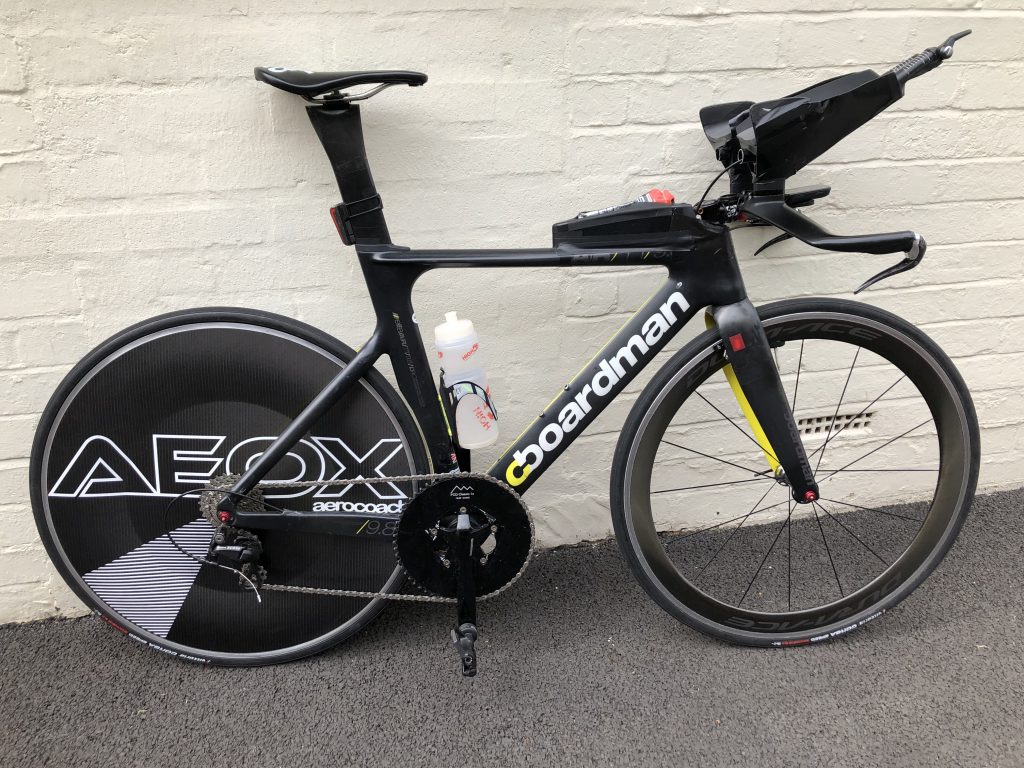
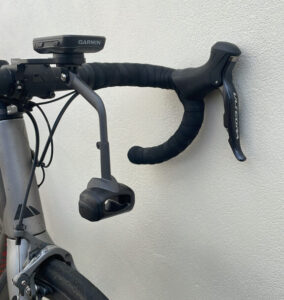
On the right, you can see the AeroSensor set up on the front of the bike. It fixes onto the bottom of the Garmin mount on the GoPro attachment. It’s extremely simple, all you have to do is make sure it’s square and level, which is really easy.
Pairing with the Garmin is easy too. The AeroSensor has its own Garmin IQ app. Just make sure the power meter and speed sensor are paired and calibrated before opening the app.

AeroBody
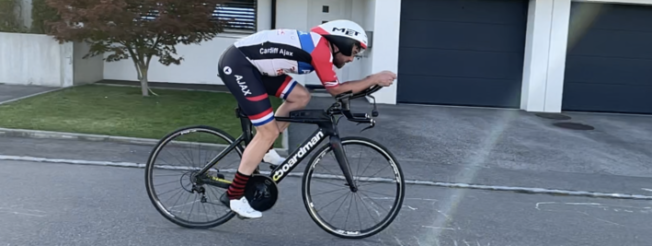
The AeroBody sits on a Garmin mount on the stem. It takes a couple of minutes to install, and IT IS GENIUS!!!
It has two sensors that very accurately measure the distance to your head and your chest. When I first read about it, I liked the idea, but the more I thought about it, the more I liked it. And after using it, I’m convinced more than ever that this is an essential part of aero testing.
All you do to set it up is aim the sensors and pair them with the Garmin. You can set a baseline of your position, and then you can have a live readout that tells you if you are too far from the baseline (you can adjust the tolerance).
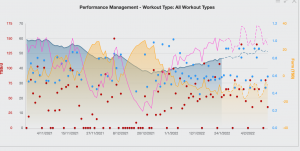
All the data is recorded in the .fit file so you can review it in your analysis.
Where to Test
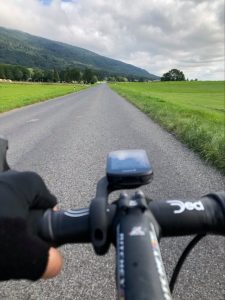
I couldn’t get to Maindy, so I had to use a local road, which is not easy to find…good road surface, minimal traffic.
The road I used wouldn’t be doable with my normal testing as there was too much elevation change, but with the aerosensor, it was workable and we got some great data.
You need about 1km of road and hold you position. With the aerosensor they suggest braking hard at the end of each run, just be careful! The Garmin IQ app creates a new lap every time you go above/below a pre-determined speed, which makes analysis really easy after you’ve downloaaded the fit file.
I’ll go through the analysis part in the next post.
Next Time…
So now we know the setup and how it all works, it’s down to testing…in the next post, we’ll see how my first testing session going.
Click here to see the First Testing Session

Do you have a Goal we can help with?
With a coach, you are part of a team. Together we make a plan tailored to your goals and your lifestyle