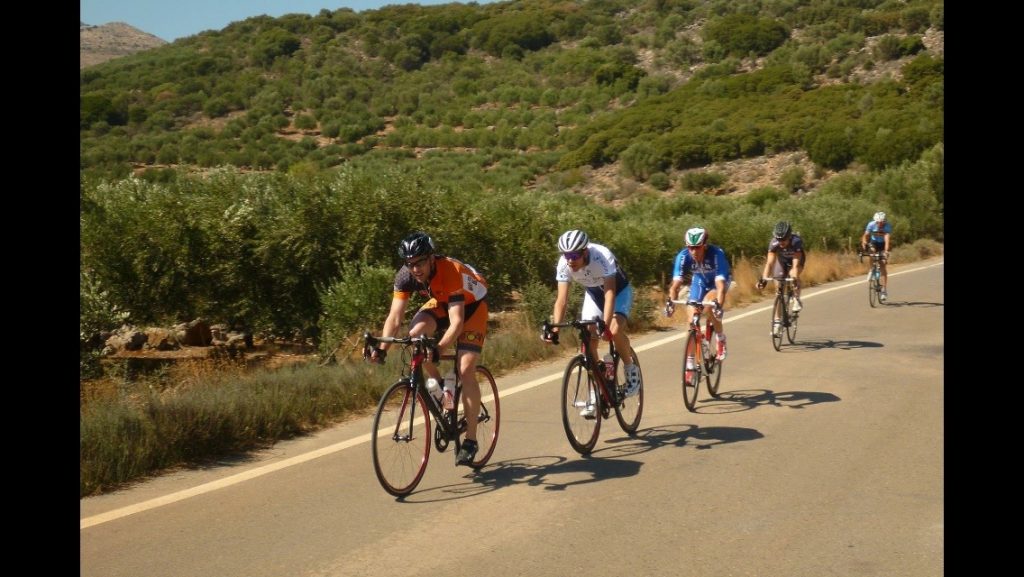
Getting Cleat Position Right
Cleat position is something we have all tinkered with at some point. When I first had clipless pedals, I accidentally bought cleats with no float!! I had anterior knee pain not long after and was changing the position to try and find a comfortable position. I was 18 and had no idea about anything, but over time found a position that worked. Not long after someone told me about cleats with float…made life a lot easier!!
Today we will look at some simple ways of making sure your cleat is in the right position for you.
Finding the Right Cleat Position
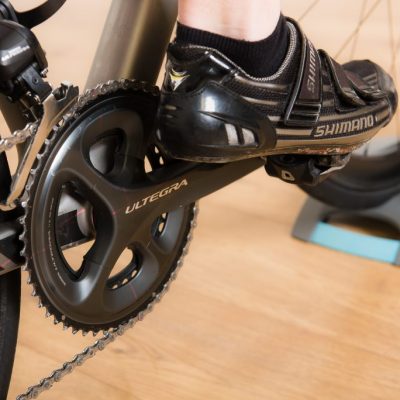
Cleat Fore/Aft
So how do you find the right cleat position? There’s a common ‘rule’ that you should have the ball of your foot over the pedal axle. In my opinion, this will lead to your cleat being too far forward and could result in some discomfort.
This depends a bit on how you measure your cleat fore/aft position. If it is done statically or with low/no load your lower limb kinematics will be different to when you are pushing a moderate or high load. Your kinematics also change over the duration of a ride as you fatigue.
What typically happens under heavier loads and with fatigue is that your ankle tends to go through more range and you go into more dorsiflexion (heel down) at the bottom of the pedal stroke. This means that relative to the pedal axle the ball of your foot is further back.
Simply put, starting with your cleat fore/aft position a little further back is a good idea. There’s no downside; it doesn’t affect your power output or the metabolic cost of cycling and it means as you fatigue or do big efforts the axle will be on the
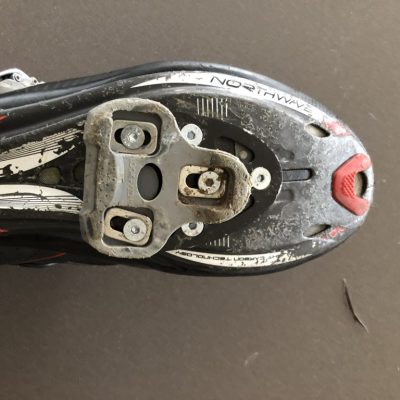
Cleat Alignment
Alignment along the long axis of the foot is made a lot easier by having a suitable amount of float in your cleats. I think I have a pair with 5 degrees and a pair with 10 degrees, but neither give me any issue.
I think if you are doing it yourself it can be tricky, so be patient and expect to get on and off the bike a lot to tweak things.
Essentially you are looking to see how their feet function on the pedals and make sure that the axial position of the cleat isn’t interfering with the pedalling.
It’s important to get the other elements that affect foot function sorted first (seat position, cleat fore/aft, shoe inserts). Then you can make sure that the axial position doesn’t interfere with the pedalling.
What you don’t want is the float to ‘run out’ forcing undesirable movement, because that movement will have a knock-on effect, which will most likely impact the knee.
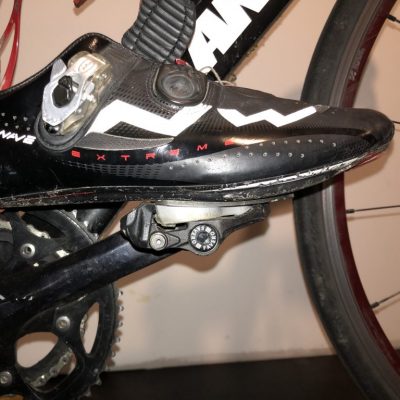
Mid-Foot Cleats
I changed to mid-foot cleats as a bit of an experiment after reading the research. I have no plans to change back, it seems to work very nicely.
There are some big advantages in that you are pushing the pedal with the middle of the foot and spreading the load over a greater area, which may be of benefit to those who get hot spots etc. Also, there is less need for stabilising the ankle, which takes the load off the calf muscles, particularly good for triathletes who have to run after they have biked.
There are a few disadvantages, finding suitable shoes is tricky but improving. Cleat adapters (which I use) add stack height to the cleat. Your toes overlap the front wheel a bit, so be cautious with low-speed turns. I can’t imagine it’s ideal for really high-intensity efforts out of the saddle.
It will affect your bike position, at the very least seat height will need to be adjusted (usually lowered a little) though this depends on your new pedalling style a bit. So as always bike fit may evolve as you adjust to the new cleat position over a few weeks.
Overall, I’d say the pro’s outweigh the cons for most people, but it depends a bit on the type of riding you do. As always, it’s about the individual.
Summary
For me, the feet are a really important part of a bike fit. There’s so much to be gained from good shoes, with the correct fitting insoles, wedges, shims and cleat position. It’s a real jigsaw to piece together, but if you piece it together in a methodical way you will be successful.
It’s a tricky one with where to start, but when I do a bike fit, the first thing is to look for anything that is way off and will negatively influence the results of the assessment. For example, if the seat height is so high that no matter what you do the pedalling will look awful…you have to get that in an acceptable range first.
Once things are close enough, you can start assessing and looking more closely at the individual elements and in more detail, that’s when to get into the feet.